So you want to channel your inner Viking and create your very own Dane axe, huh? Well, you're in luck, my friend! In this step-by-step guide, I'll show you exactly how to craft a formidable and authentic Dane axe that will make you feel like a true warrior from the Norse sagas. Grab your tools and let's get started!
Step 1: Gather Your Materials
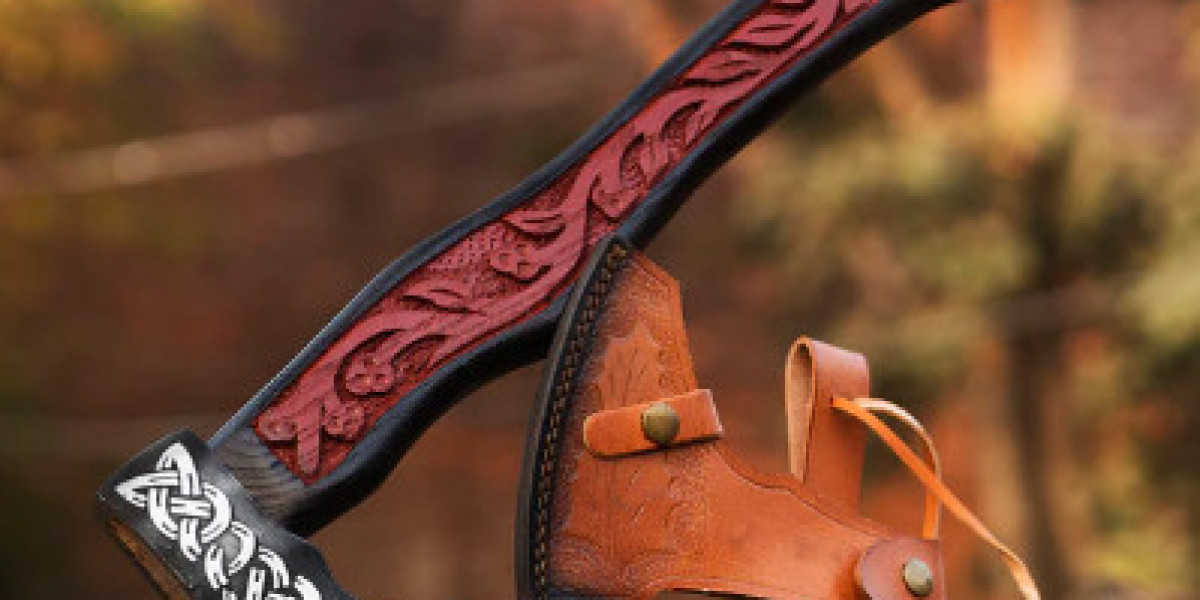
First things first, you'll need to gather the necessary materials for viking axes. Here's what you'll need:
- A high-quality axe head
- A sturdy wooden shaft
- Strong adhesive or glue
- Sandpaper
- Beeswax or linseed oil (optional)
Step 2: Select an Axe Head The axe head is the heart and soul of your Dane axe, so choose wisely. Look for an axe head made from durable steel that has a curved blade and a long, symmetrical spike at the back. This spike, known as the beard, is what gives the Dane axe its distinctive shape and deadly effectiveness.
Step 3: Prepare the Axe Head Before mounting the axe head on the shaft, you'll need to prepare it. Make sure it is clean and free from any rust or debris. If necessary, you can use sandpaper to smooth out any rough edges or imperfections. Once you're satisfied with the condition of the axe head, move on to the next step.
Step 4: Attach the Axe Head Now comes the exciting part – attaching the axe head to the wooden shaft. Apply a generous amount of adhesive or glue to the socket of the axe head, ensuring that it covers the entire surface. Carefully insert the wooden shaft into the socket and firmly press the two pieces together. Allow sufficient time for the adhesive to dry and set.
Step 5: Finishing Touches Once the adhesive has dried completely and your axe head is securely attached to the shaft, it's time for some finishing touches. Use sandpaper to smooth out any rough edges on the shaft and give it a polished appearance. If desired, you can apply a coat of beeswax or linseed oil to protect and enhance the wood's natural beauty.
Step 6: Test and Refine Congratulations! You've successfully created your very own Viking axe. Now it's time to put it to the test. Find a safe and open area where you can swing your axe with full force. Through trial and practice, you'll discover the optimal technique and balance for your axe. If necessary, make any adjustments or refinements to improve its performance.
And there you have it – a step-by-step guide on how to create a Viking axe for sale Remember, this ancient weapon commands respect, so be sure to handle it responsibly and with the utmost caution. Whether you're a history enthusiast, a Viking reenactor, or simply someone who appreciates the art of craftsmanship, your Dane axe is sure to impress. Happy axe swinging!